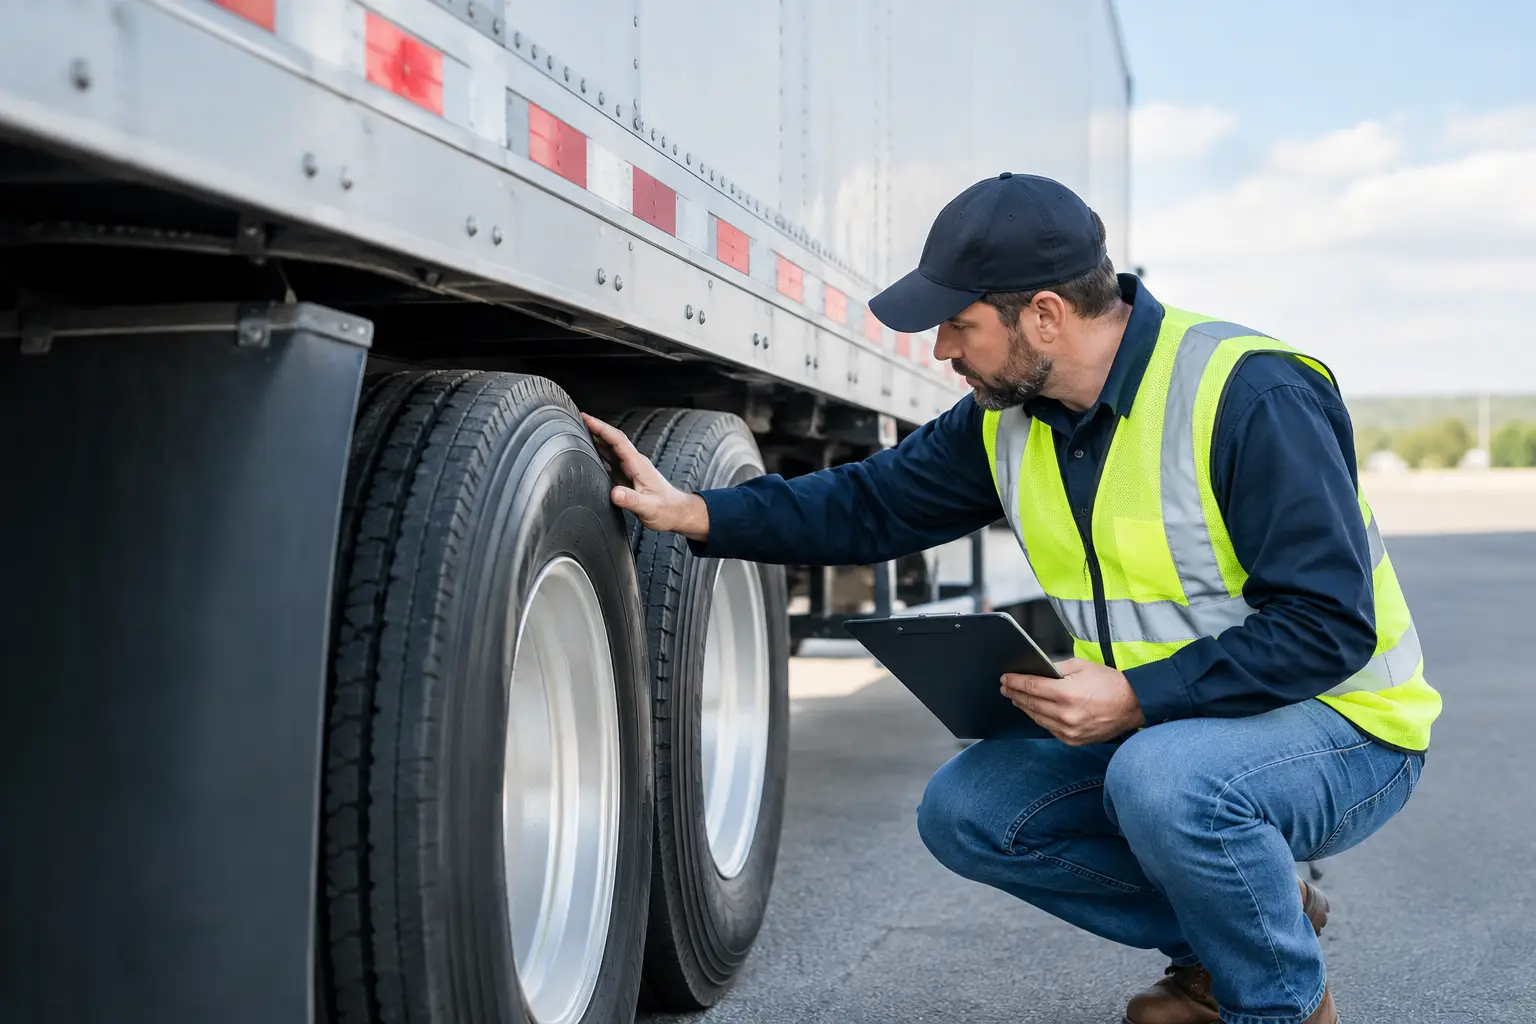
A trailer can look ready from across the yard and still have a brake issue, damaged tire, loose connection, or compromised door that puts a truck out of service later that day. This trailer inspection guide focuses on the checks that prevent expensive downtime, missed deliveries, and avoidable roadside repairs.
A good inspection is not about finding every cosmetic flaw. It is about identifying defects that affect safe operation, cargo security, DOT compliance, or the trailer’s ability to complete the job. The exact process depends on the trailer - a dump trailer, equipment trailer, enclosed trailer, flatbed, and semi-trailer all have different failure points - but the fundamentals remain the same.
Trailer Inspection Guide: Start Before the Trailer Moves
Begin with the trailer parked on firm, level ground when possible. Set the parking brake on the tow vehicle, chock the trailer wheels as needed, and keep clear of pinch points around landing gear, ramps, couplers, and lift gates. A rushed inspection near moving equipment creates its own problems.
Walk around the trailer before connecting it or loading it. Look for fresh fluid leaks under the axles, hubs, hydraulic components, or landing gear. Check the frame, crossmembers, tongue, deck, rub rails, and welds for cracks, bent sections, missing hardware, or damage from a recent strike. Surface rust may be manageable, but rust that is lifting steel, weakening a mounting point, or hiding a crack needs attention.
For a bumper-pull or gooseneck trailer, inspect the coupler, latch, safety chains, breakaway cable, jack, and tongue. The coupler must fully seat and latch on the correct ball size. Chains should be properly rated, crossed under the tongue where applicable, and free of stretched links or worn hooks. The breakaway cable needs to pull freely without dragging or being wrapped around a safety chain.
On a fifth-wheel trailer, inspect the kingpin, upper coupler, apron, and visible trailer-side connections. Confirm the trailer is properly coupled before raising landing gear. Landing gear should extend and retract smoothly, with no bent legs, damaged pads, or leaking gearboxes. A dropped trailer or coupling failure can damage equipment and shut down a crew quickly.
Check Tires, Wheels, and Suspension Closely
Tires are one of the fastest ways for a small inspection miss to become a roadside event. Check inflation with a gauge, not just by sight. Underinflation builds heat and can lead to tread separation or a blowout. Overinflation can reduce the tire’s contact patch and contribute to uneven wear. Use the pressure specified for the tire and the trailer’s actual load requirements.
Look across each tread and sidewall for cuts, bulges, exposed cords, irregular wear, embedded objects, and low tread depth. A tire wearing heavily on one edge may point to an axle alignment, suspension, or bearing issue rather than a tire problem alone. Check dual tires for debris trapped between them and make sure they are not rubbing.
Inspect wheels for cracks, bent rims, missing lug nuts, loose-looking studs, or rust streaks around the lug holes. Rust lines can be a warning that a wheel has been moving against the hub. Check hubs for excessive heat after operation when it is safe to do so. A noticeably hotter hub than the others may indicate a bearing or brake problem.
Then inspect the suspension. Look at leaf springs, hangers, equalizers, U-bolts, air bags, shock mounts, torque arms, and axle attachments. Broken spring leaves, shifted axles, leaking air bags, or loose hardware affect tire wear, braking, and trailer control. Do not keep running a trailer with a visibly damaged suspension component just because it can still roll.
Test the Brakes Before the Load Is On the Road
Brakes deserve more than a quick glance. For air-brake trailers, inspect air lines, glad hands, fittings, chambers, pushrods, and reservoirs for damage or leaks. The lines should not be kinked, chafed, or rubbing against sharp edges. Seals at the glad hands should be in good condition so the system can maintain air pressure.
Apply the trailer brakes and listen for air leaks. Check that the brakes apply and release as expected. If the trailer pulls, drags, responds slowly, or has an uneven brake feel, it needs diagnosis before it goes back into service. A dragging brake can overheat a hub and damage the tire, bearings, and brake components in one trip.
Electric-brake trailers need a different check. Inspect the electrical connector, breakaway battery, wiring, brake controller response, and visible wiring protection. A trailer with working lights but weak or nonfunctioning electric brakes is not ready for the road. Test the breakaway system according to the manufacturer’s procedure and replace a weak or corroded battery before it becomes an emergency.
Hydraulic brake systems require inspection for fluid leaks, damaged hoses, worn components, and poor pedal or actuator response. If the brake system has lost fluid, do not treat topping it off as the repair. Find the leak and correct the cause.
Verify Lights, Wiring, and Reflective Equipment
Lighting problems are common, easy to miss in daylight, and highly visible to other drivers after dark or in heavy rain. Connect the trailer and test running lights, brake lights, turn signals, hazard lights, clearance lights, license plate lights, and reverse lights where equipped. Have someone operate the controls, or use a test tool if you inspect trailers alone.
Watch for lights that flash weakly, work intermittently, or cause other lights to go out. Those symptoms often point to a poor ground, damaged connector, corroded socket, or wiring rubbed through on the frame. Secure loose wiring away from tires, suspension travel, exhaust heat, and sharp metal edges.
Check reflectors and conspicuity tape on commercial trailers. Tape that is missing, peeling, or covered by dirt reduces visibility and can create compliance issues. Clean lenses and reflective material as part of regular service, especially after muddy jobsite work.
Inspect the Body, Deck, Doors, and Load-Securement Points
The cargo area has to match the job. On a flatbed or equipment trailer, inspect the deck for broken boards, soft spots, protruding fasteners, damaged steel, and slick areas. Check D-rings, stake pockets, chain slots, winches, ramps, and tie-down rails for cracks, deformation, and loose mounting hardware. A tie-down point is only as reliable as the structure supporting it.
For enclosed, box, and utility trailers, inspect hinges, latches, door cables, ramp springs, roll-up door tracks, roof seams, and floor condition. Doors should close and latch without being forced. A worn latch or damaged hinge may fail under road vibration, allowing cargo to shift or a door to open unexpectedly.
Dump trailers need extra attention at the hoist, pivot points, hydraulic cylinder, hoses, pump, and tailgate. Look for leaks, bent cylinder rods, cracked mounts, and uncontrolled movement. Never work beneath a raised dump body unless it is secured with the manufacturer-approved safety support.
Before departure, confirm the load is distributed correctly and secured for the type of cargo being carried. A trailer can have good tires and brakes yet still be unsafe because the load is too far rearward, too high, or inadequately restrained. Recheck securement after the first few miles, particularly after loading equipment, palletized material, or loose construction supplies.
Build Inspections Into the Workday
A pre-trip walk-around should happen before each use. It catches obvious defects, new damage, and issues created during the previous job. A more detailed scheduled inspection should go further, including brake wear, bearing condition, torque checks, suspension hardware, hydraulic service, and trailer-specific maintenance intervals.
Drivers and operators should report defects in clear language: which trailer, which axle or side, what was observed, and whether the issue affects operation. “Brake problem” slows down repairs. “Right rear wheel is hot and has a burning smell after a 20-mile run” gives a technician a useful starting point.
Keep inspection records with repair notes. Patterns matter. Repeated tire wear, recurring light failures, or frequent broken ramps may show that the root cause is alignment, electrical routing, overloaded use, or a maintenance interval that is too long for the trailer’s workload.
Florida Panhandle fleets also deal with heat, heavy rain, salt air near the coast, sand, and wet jobsites. Those conditions accelerate corrosion and can damage connectors, brakes, bearings, and wiring. A trailer that works between Panama City and Fort Walton Beach may need more frequent cleaning and undercarriage checks than one that stays on dry pavement.
If a defect affects brakes, tires, coupling, lights, structural integrity, or load security, take the trailer out of service until it is repaired. Mobile Fleet Services can perform on-site trailer repairs and inspections when bringing equipment to a shop would cost more time than the repair itself.
The best trailer inspection is the one completed before a crew is loaded, dispatched, and already late. Make the walk-around part of the job, document what you find, and repair small defects while they are still small.
